Prerequisites
Before we begin let's make sure we have the prerequisites in order. Feel free to skip any of these steps if you already have the prerequisite completed.
Google Cloud
Make sure you have a billing account created for your Google Cloud account. Install the Google Cloud SDKthen use the steps below to log in to Google Cloud and set up a project.
Pardon the dust, we're working on updating our documentation
Local software
Install kubectl, the Helm CLI,Docker, and yq to your local machine. Make sure that Docker is running before you start the exercises.
Finally, clone the repository to get the scripts we'll need to create our modern application platform.
Pardon the dust, we're working on updating our documentation
Platform configuration
First we’ll need a few configuration settings for our platform environment. The scripts in this project use values from .env_development.sh file in the project root directory. Let's fill that out first.
Create and then edit .env_development.sh and enter the below values.
Pardon the dust, we're working on updating our documentation
Kubernetes cluster
Kubernetes has become the de facto container orchestration engine for deploying and managing distributed systems. Most public cloud providers now include support for running Kubernetes clusters. And as mentioned above, we’ll be using Google Cloud Platform (GCP) for our Kubernetes cluster.
Create a Kubernetes cluster by running the script below from the bin directory.
Pardon the dust, we're working on updating our documentation
Upon success you will see the below output.
Pardon the dust, we're working on updating our documentation
Ingress controller
By default when an application or service is deployed to Kubernetes the application is only accessible inside the cluster and is only able to interact with other internal services. This is called east-west traffic.
Our IaaS has created a load-balancer to make our application available outside the cluster. The load-balancer will front traffic to Contour, our ingress controller, allowing us to expose our service or application externally. This is called north-south traffic.
Once deployed, Contour will programmatically update Envoy proxies to control application routing based on annotations in our deployment manifests. We'll configure a wild-card DNS entry for our (sub)domain to point to the load-balancer. This will allow for dynamic application deployments.
From the bin directory, run the below install script for Contour.
Pardon the dust, we're working on updating our documentation
Upon success, the script will output the hostname and public IP address of our load-balancer which we’ll use to access all our external services.
Pardon the dust, we're working on updating our documentation
Next set a wild-card DNS record to point to your load-balancer's IP address by creating an A record entry with your DNS provider. We use DNS Made Easy for managing our DNS records. Use the following command to make sure your DNS is configured correctly before proceeding.
Pardon the dust, we're working on updating our documentation
Certificate management
Our basic dial tone does not have support for managing SSL certificates, so we’ll need a new component to manage the lifecycle of SSL certificates for our cluster. We’ll also need to choose a Certificate Authority (CA) to issue certificates.
For our use case, we’ll configure cert-manager, our certificate management software, to use Let's Encrypt, our certificate authority of choice.
To accomplish this, we’ll give cert-manager a secret destination. Cert Manager will then request a cert from Let's Encrypt. Let's Encrypt will provide us with short lived SSL certs that will be consumed by the Ingress controller and stored as Kubernetes secrets.
Pardon the dust, we're working on updating our documentation
Upon success, you will see the below output.
Pardon the dust, we're working on updating our documentation
One of the benefits of using cert-manager is that cert-manager will automatically replace each SSL certificate before the certificate expires.
Image registry
We’ll use Harbor for our image registry. We’ll also use Docker to create the images which we’ll upload to our registry. Harbor will scan each of the Docker images we build for security vulnerabilities, issues, and errors.
Harbor will create two projects for each of the corresponding images below.
- concourse-images (public) - images used by the pipeline.
- kpack (public) - image(s) used to build the application image and the application image, once created.
Run our next script from the bin directory to create the registry.
Pardon the dust, we're working on updating our documentation
Upon success, you will see the output below.
Pardon the dust, we're working on updating our documentation
Navigate to the provided URL and log in to Harbor using the provided credentials.
Continuous integration and delivery
We’ll be using a popular tool named Concourse for continuous delivery. Run our next script from the bin directory to install Concourse in our cluster.
Pardon the dust, we're working on updating our documentation
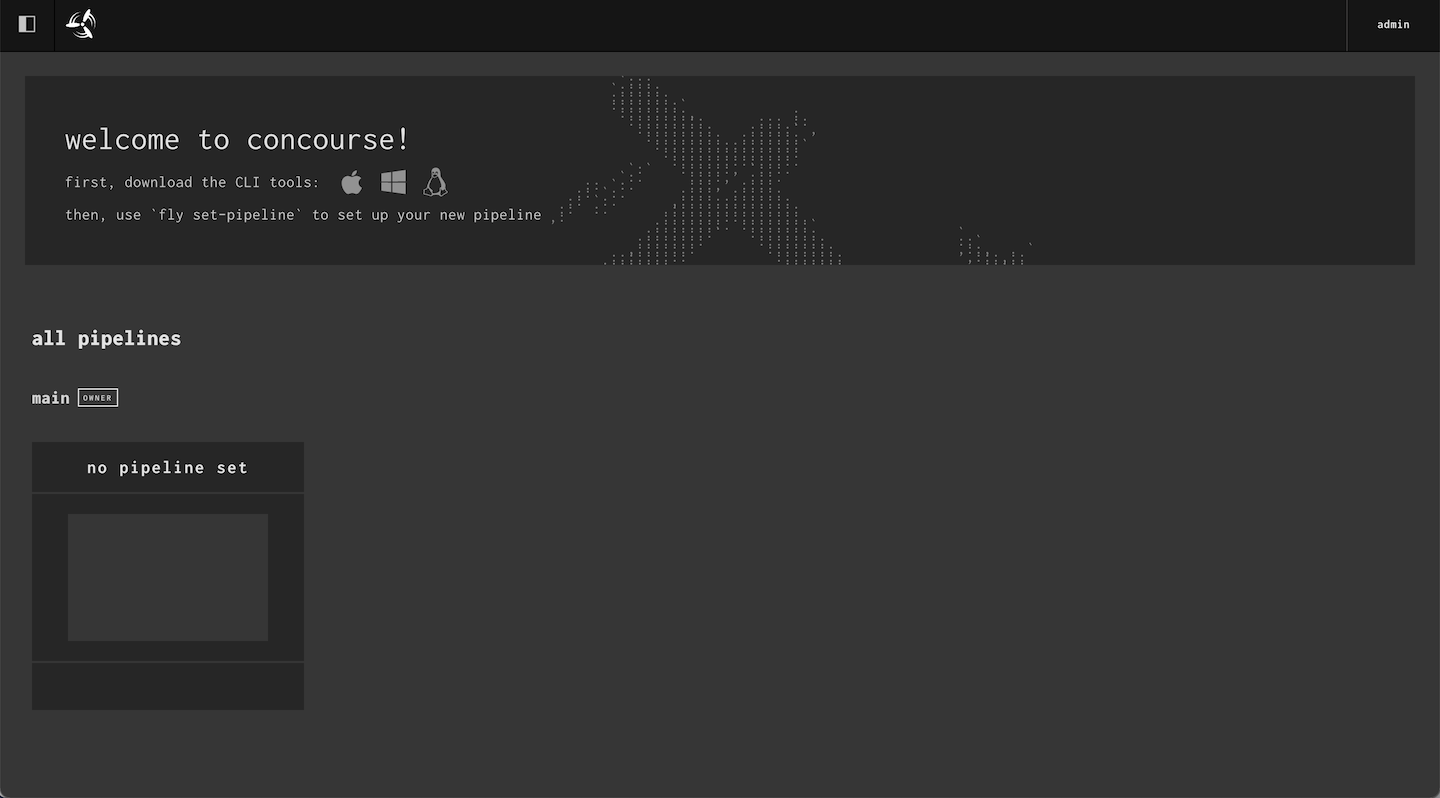
Navigate to the provided URL and log in to Concourse using admin as the username and the password that you configured in your environment file.
Build service
We’re almost done with all the components for our modern application platform. One last component: kpack, which gives us an implementation of a Cloud Native Buildpack. Installing kpack in our cluster will create the builder objects used by Kubernetes to create application containers.
First install the kpack-cli binary on your local machine.
Pardon the dust, we're working on updating our documentation
Next deploy the kpack build service. This step will take slightly longer than previous steps as we’ll be building the images locally with Docker.
Pardon the dust, we're working on updating our documentation
Upon success, you will see the below output.
Pardon the dust, we're working on updating our documentation
Harbor should now look similar to the image below.
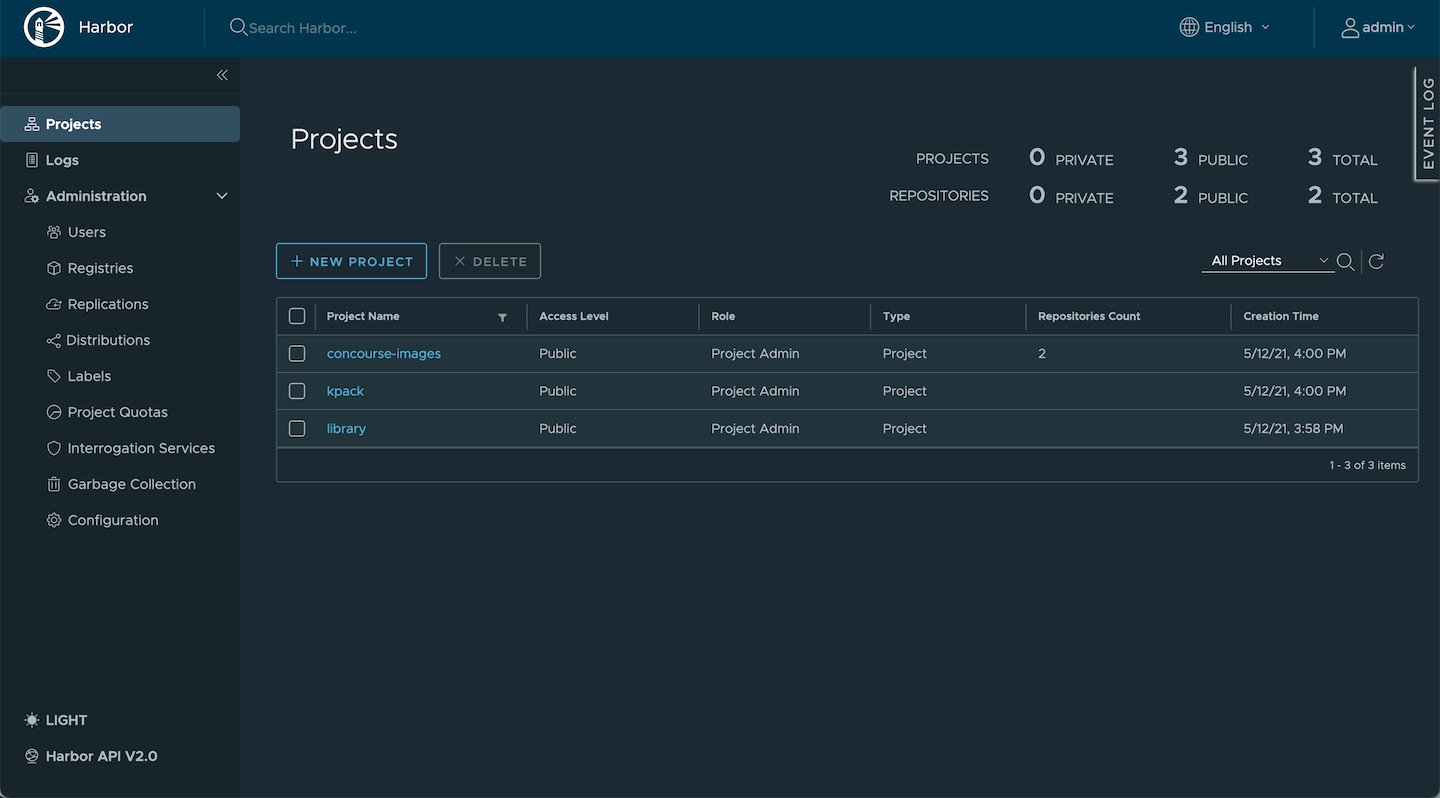
We’ve now configured each of the components that contribute to our pipeline. Let’s deploy our application!
Application deployment
Let’s deploy our application. We created a light-weight command line interface (CLI) called freshctl to manage your applications.
Run freshctl from the bin directory to test the CLI.
Pardon the dust, we're working on updating our documentation
The freshctl CLI takes a file or an application configuration as an argument. You'll see an example application called kotlin-ktor-starter in the apps directory. There are only three variables needed to configure our application.
- The application name
- The application's GitHub repository
- The branch to deploy
Download the Concourse fly CLI tool from our Concourse installation, substituting your Concourse URL for the URL below.
Pardon the dust, we're working on updating our documentation
Let’s review the steps the freshctl CLI performs to deploy our application.
- Create the application namespace
- Create the builder object in the namespace
- Write the pipeline and params yaml
- Install the pipeline to Concourse
- Start a build
- Upload the application image to Harbor
- Create an application deployment:
- Create TLS Certificate
- Create k8s Service
- Create k8s Ingress
- Deploy application container
OK, let’s deploy the kotlin-ktor-starter app with freshctl's add command.
Pardon the dust, we're working on updating our documentation
View the build logs by running the below command.
Pardon the dust, we're working on updating our documentation
Upon success, run the below command and see the application URL.
Pardon the dust, we're working on updating our documentation
Summary
That’s a wrap! We hope you enjoyed the article.